-
I recently noticed my heater core was leaking. My windows kept fogging up at night and my nose picked up the faint smell of antifreeze. Thinking it had to be my work on replacing the timing belt, I searched every coolant hose I touched under the hood, but they were all dry. After going through 2 full coolant reservoirs, I finally noticed the wetness of the interior carpet in the footwells and little globs of coolant on the lower dash cover. No doubt the worse thing to see is your nice original carpet soaked in green sticky coolant. Reluctantly, I began by ordering up all parts needed.
To do this, take your time and get some snack-size ziploc bags to inventory all the screws and bolts as you take them off. I laid some drop cloths down in the garage for all the interior parts.
To start, disconnect the battery - you will be unplugging lots of wiring harnesses! Don't need to short anything out.
Next I drained the coolant. I didn't want a lot of it dumping out when I got to removing all the hoses. I drained from the block plug too.
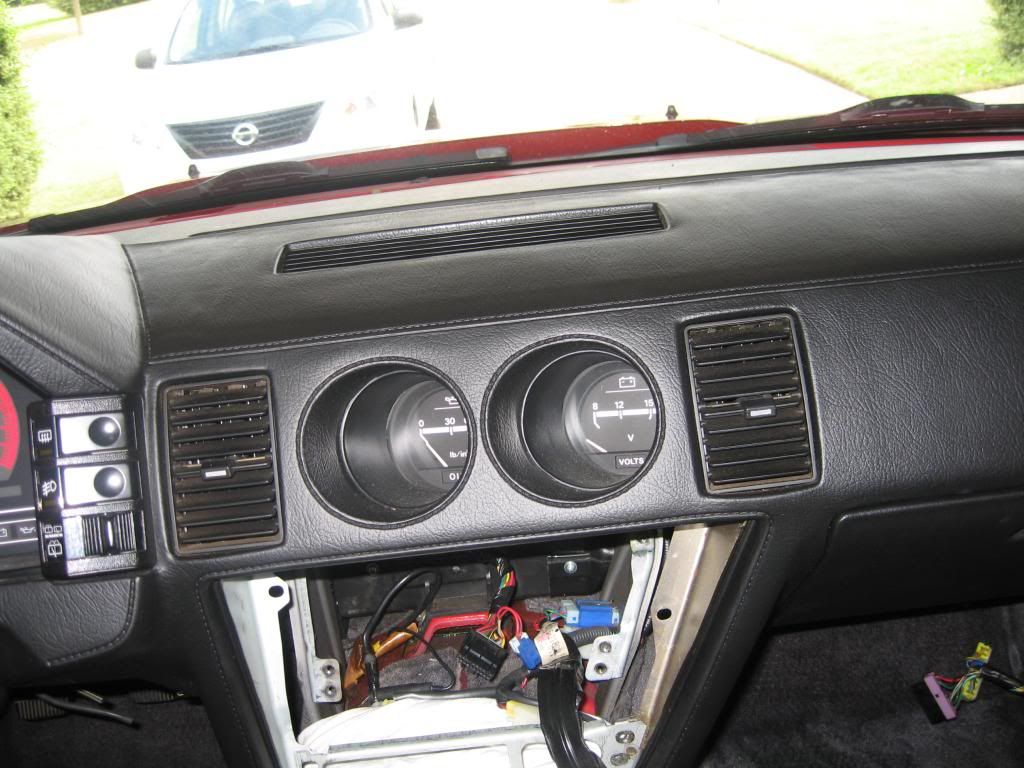
Next you'll need to remove the steering wheel and instrument panel (IP). This is where it gets time consuming. Again, take your time and you'll see that this won't be a difficult procedure. Start by removing the radio and climate control unit.
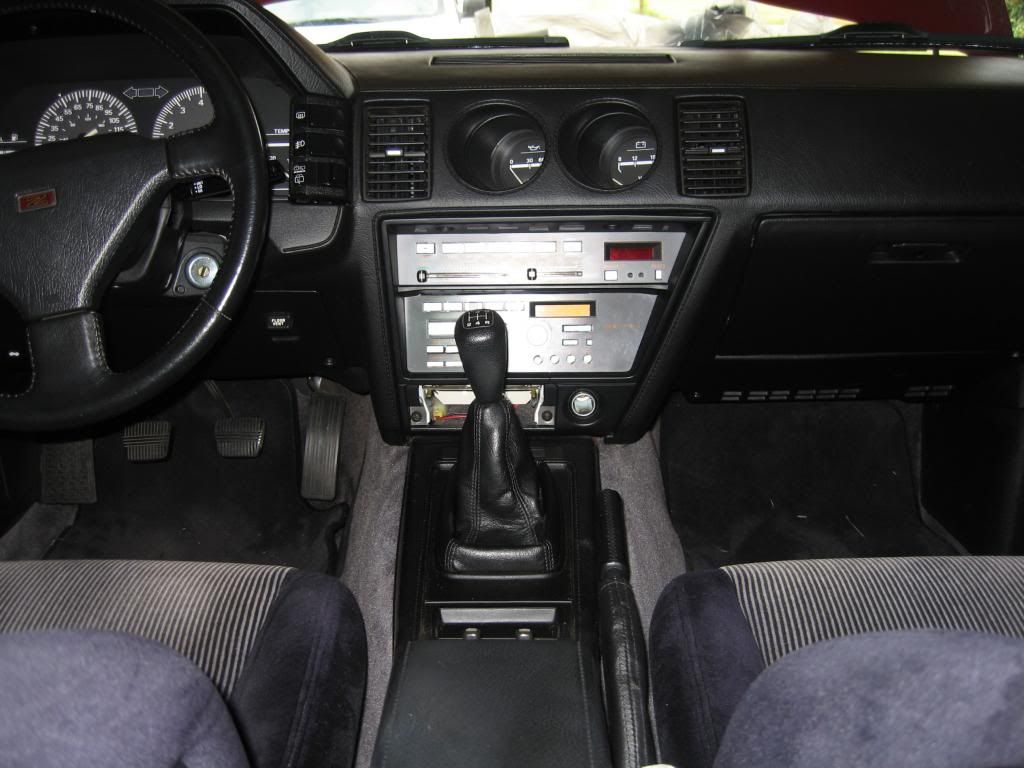
Disconnect main radio harness and set it aside. This will get more stuff out of your way.
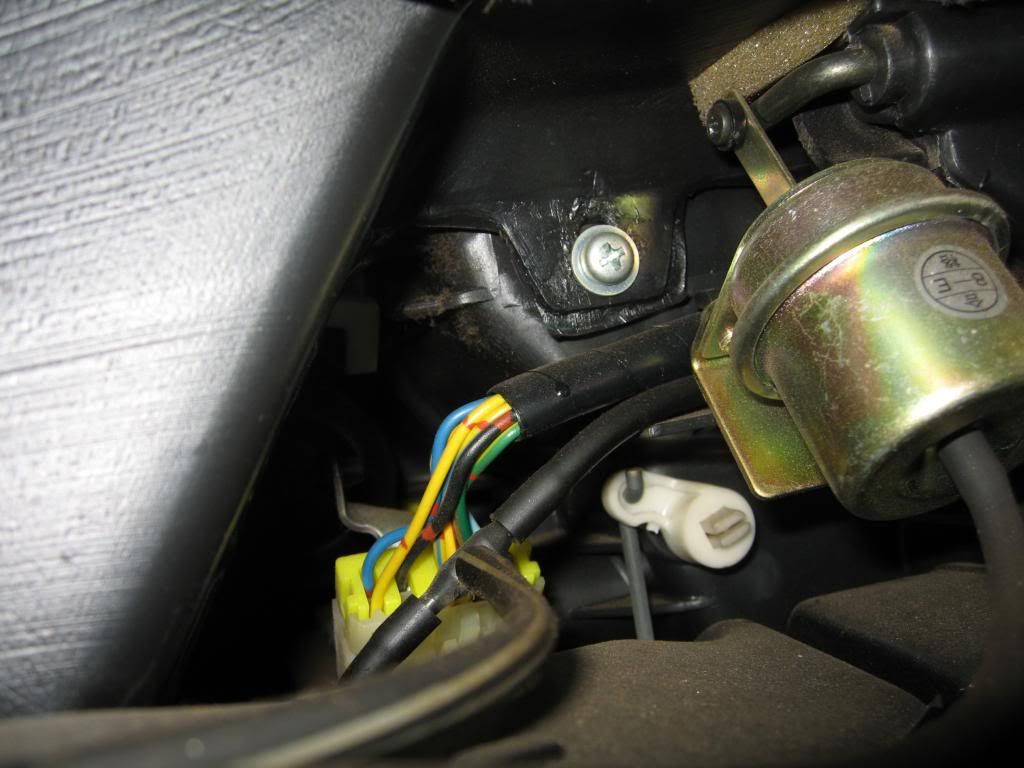
Remove the lower panels of the IP. Note the orientation of the vacuum hoses going to the floor vent lever on the driver's side.
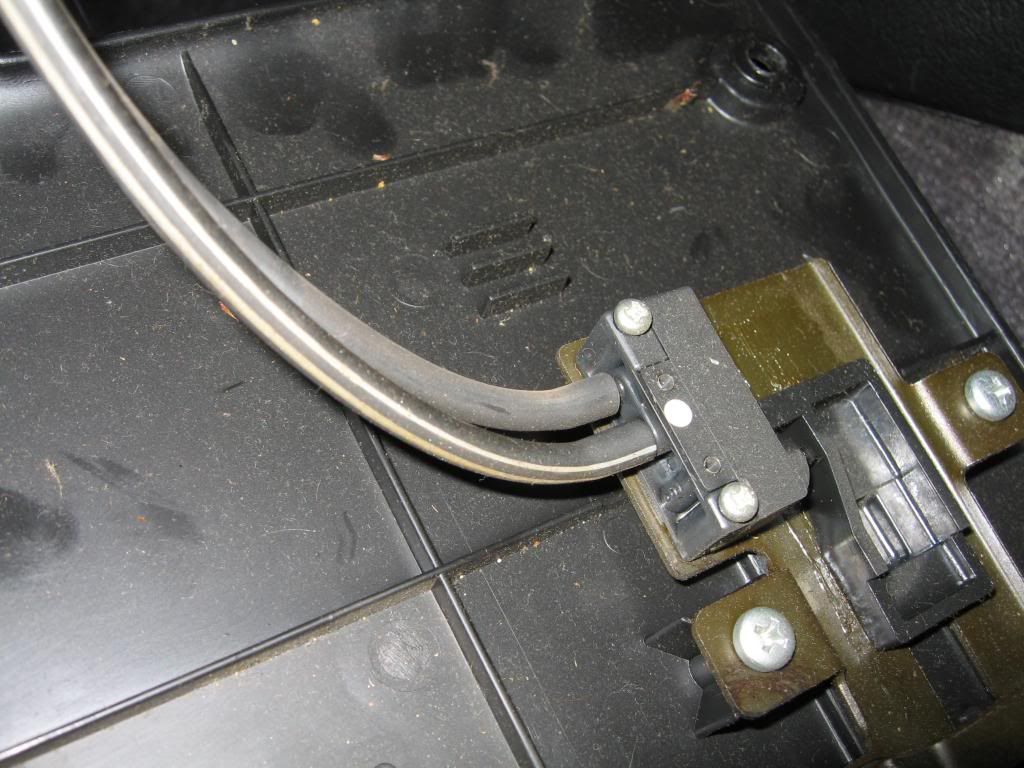
This is the little secondary vent actuator. What this guy does is pipe a little bit of airflow to the floor vents when you have the mode selector set on the face vents, so you don't get too much air blasting you in the face. I believe nifty countermeasures like this are long gone from cars today.
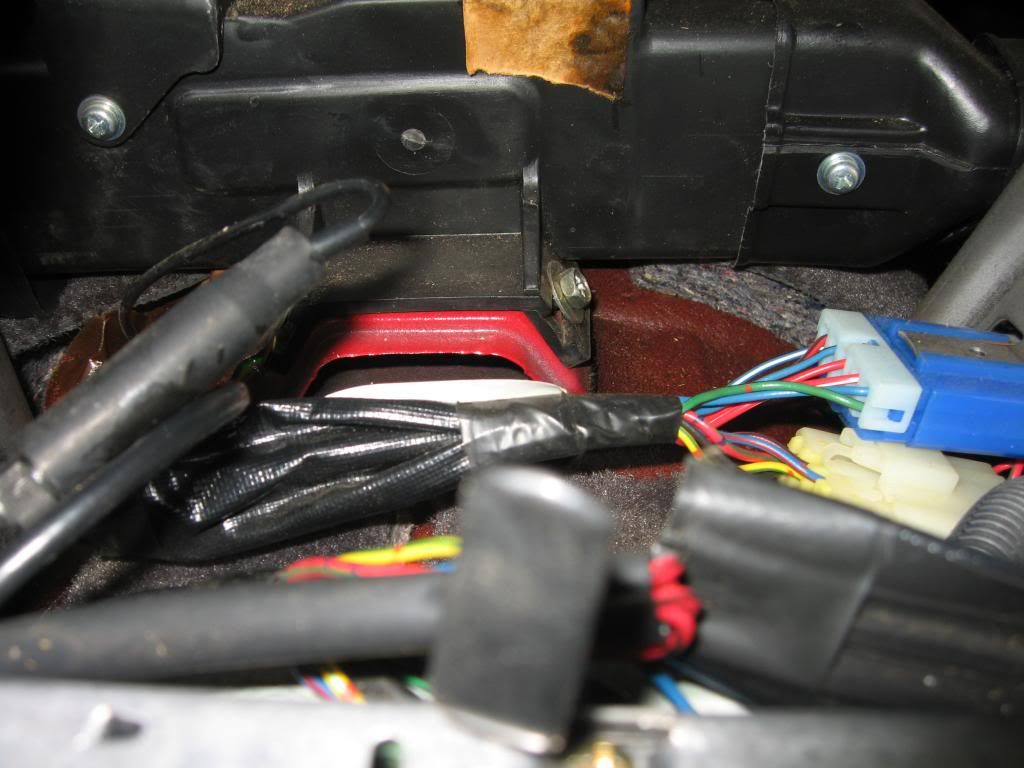
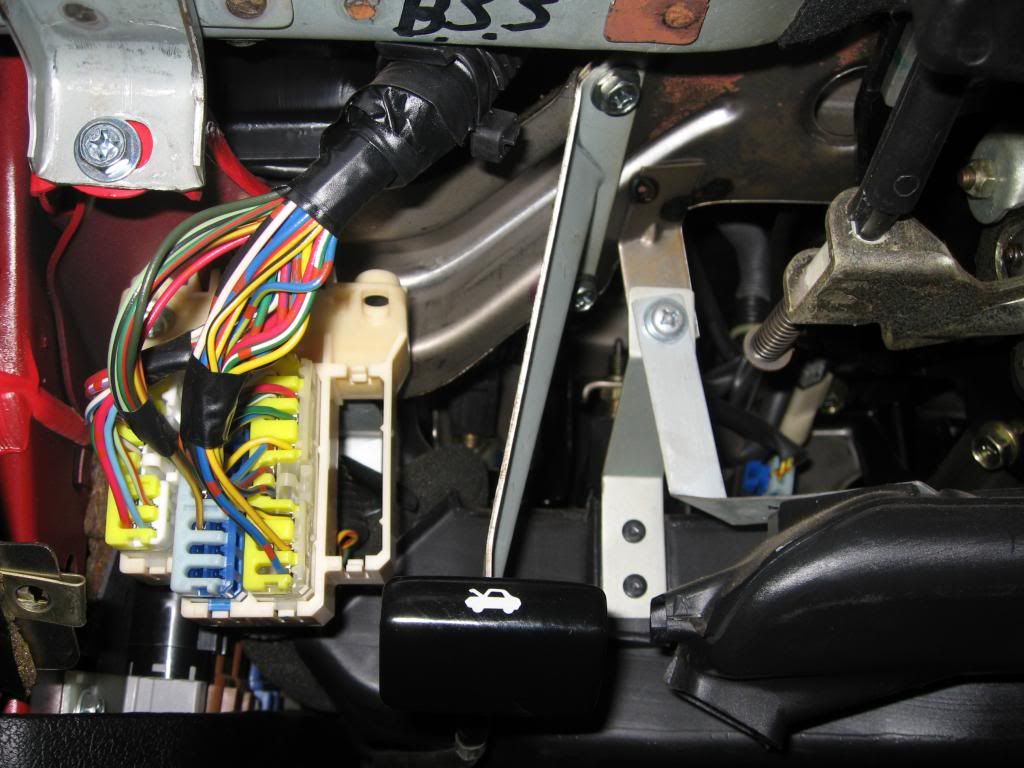
Continue to remove the large connectors on both ends of the instrument panel, and take down the hood release lever.
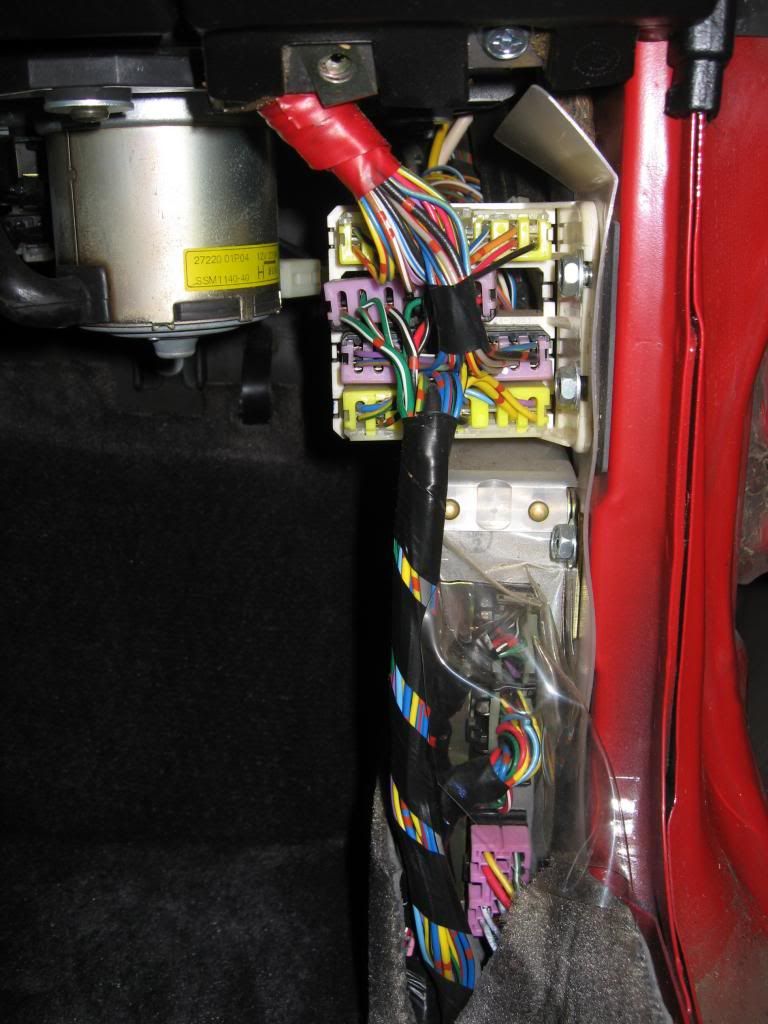
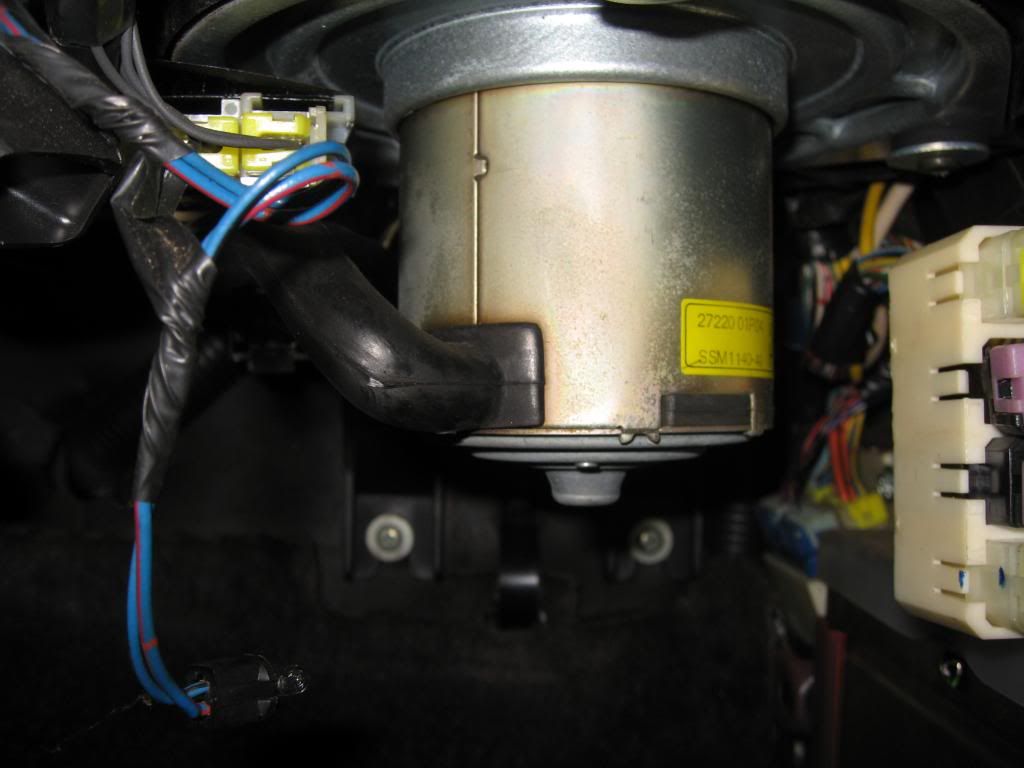
Here is your fan motor and the hamster cage. Now might be a good time to drop it down and clear out any debris. I also noticed the rubber tube was loose so I shoved it back into its hole
Next I removed the steering wheel and the combination switch. Go easy on the steering column cover screws during R&R. The combi switch has a screw on top of it that clamps it to the steering column. Then work your way through disconnecting all the connectors.
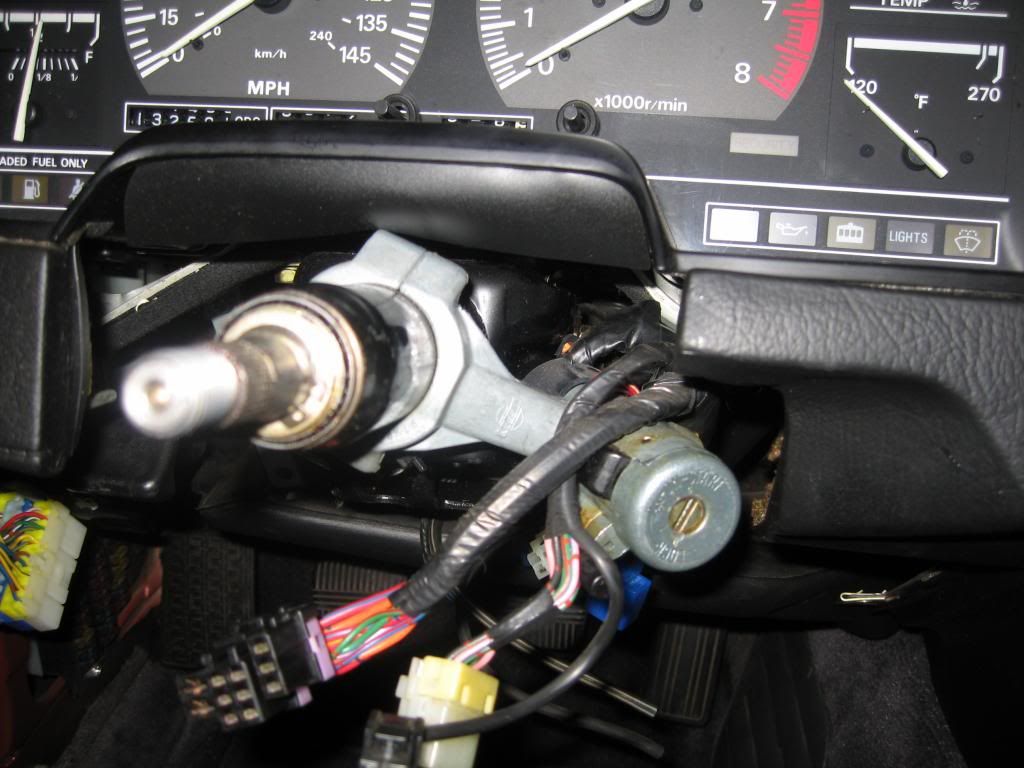
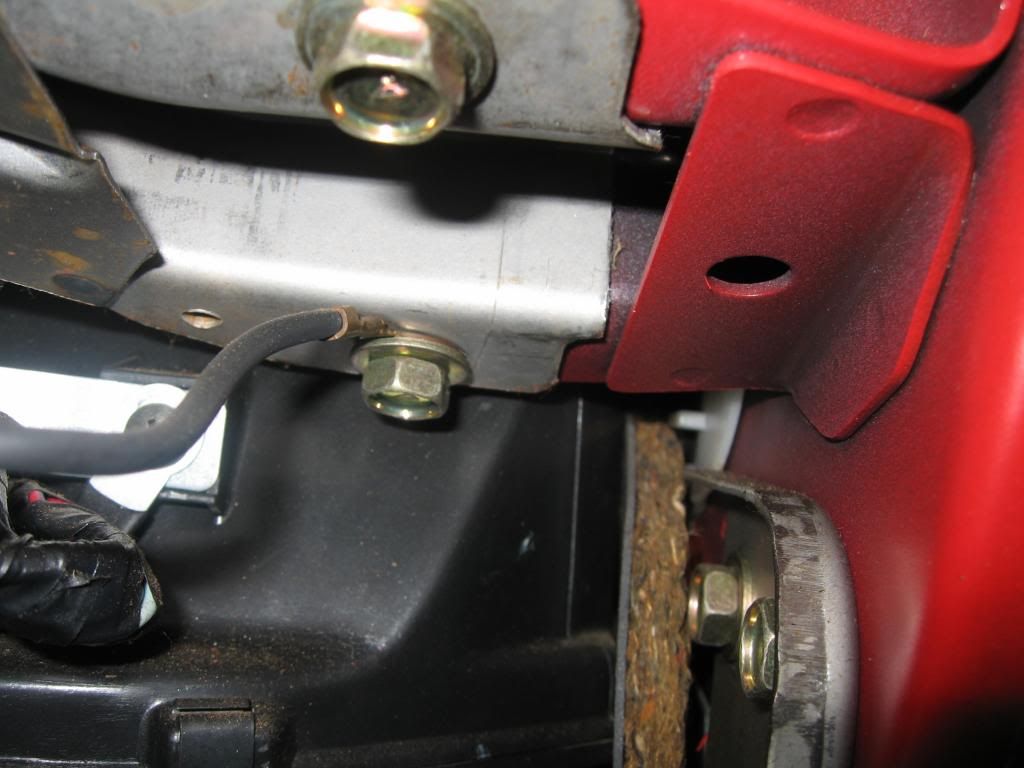
I then dropped the steering column by removing the bolts on either side:
Now it is time to remove the instrument panel bolts. You have 4 behind the radio, one on each lower corner, and 5 under the defrost vents. So start with the ones behind the radio:
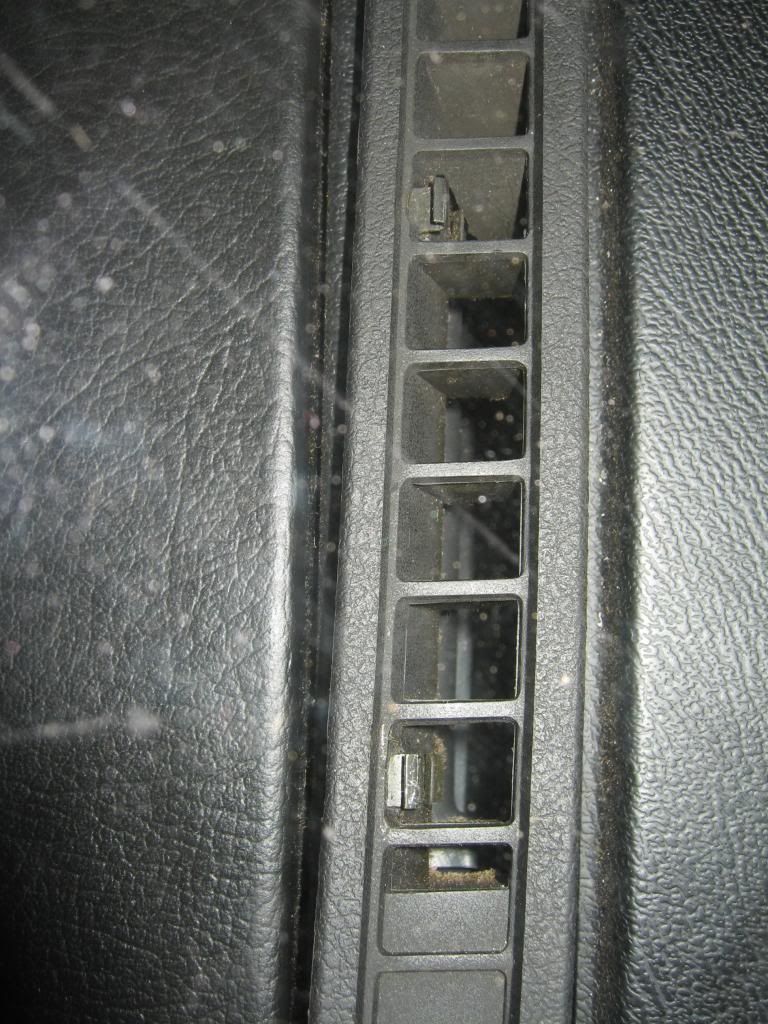
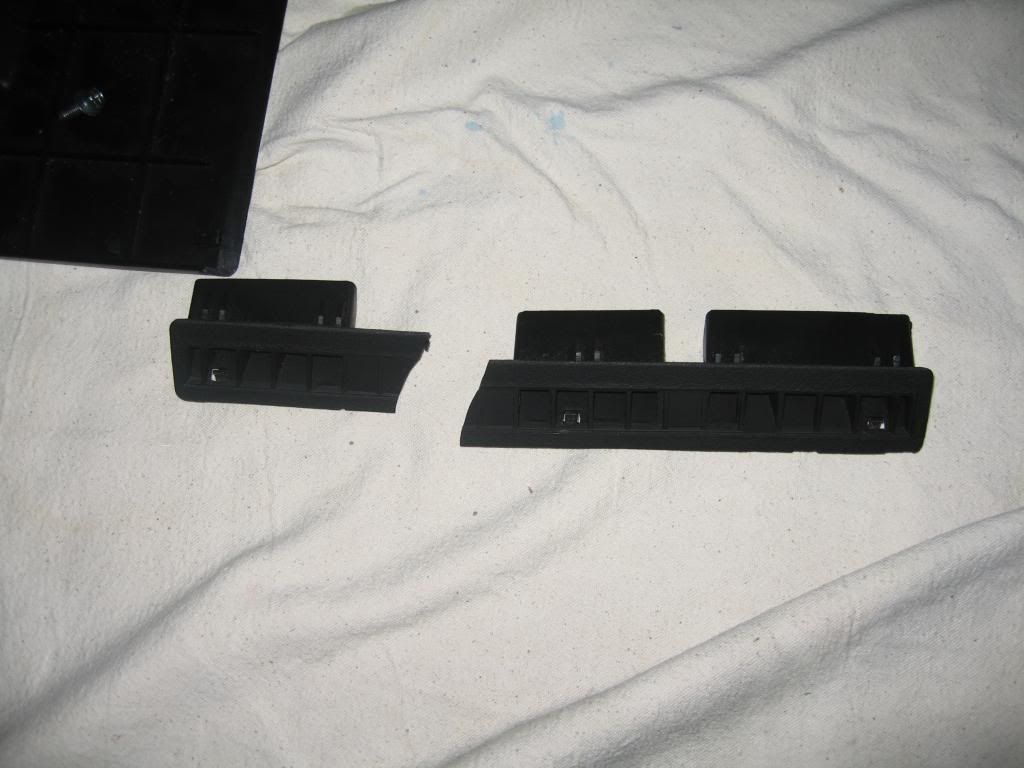
The ones across the top of the IP require you to remove the defrost vents. These have small metal tabs inside them that hold the vents inside the holes.
What you'll need to do is use a tool to push the tabs forward, then something to work under the vent and pry it up. It will go something like this:
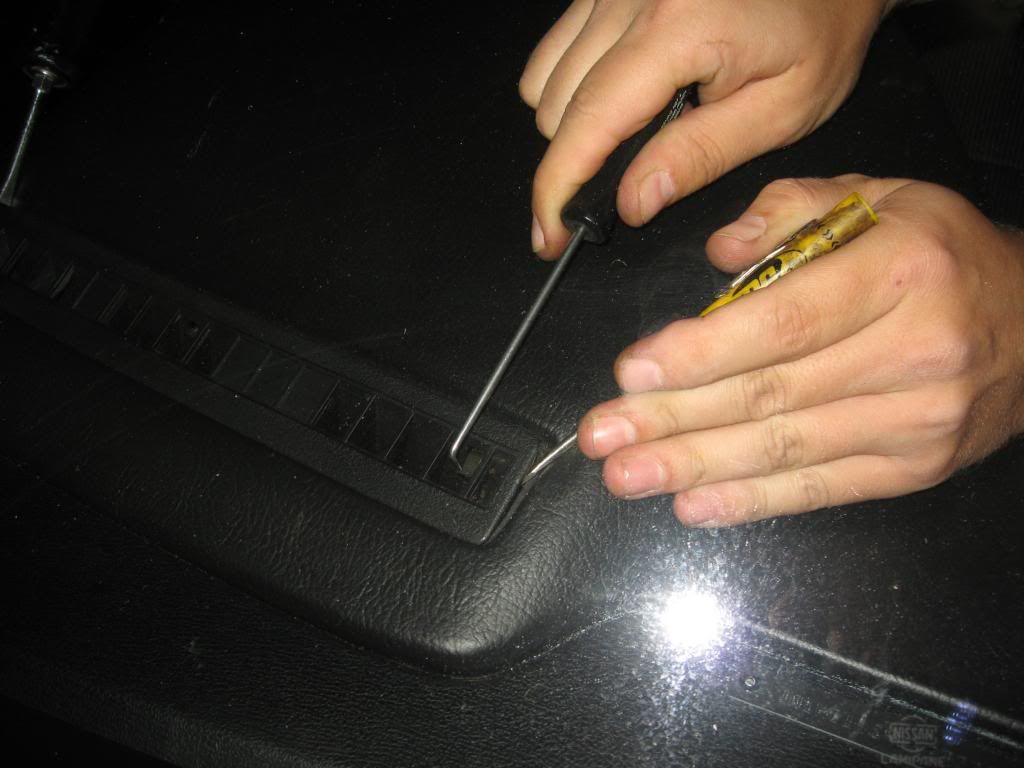
You'll want to be very careful here as these vents are pretty brittle after 24+ years. Luckily my car was well taken care of and the vents were not very brittle
Son of a $%%^&*!
If this happens, I used Locktite Go2 Glue to mend them back together. Barely noticeable.
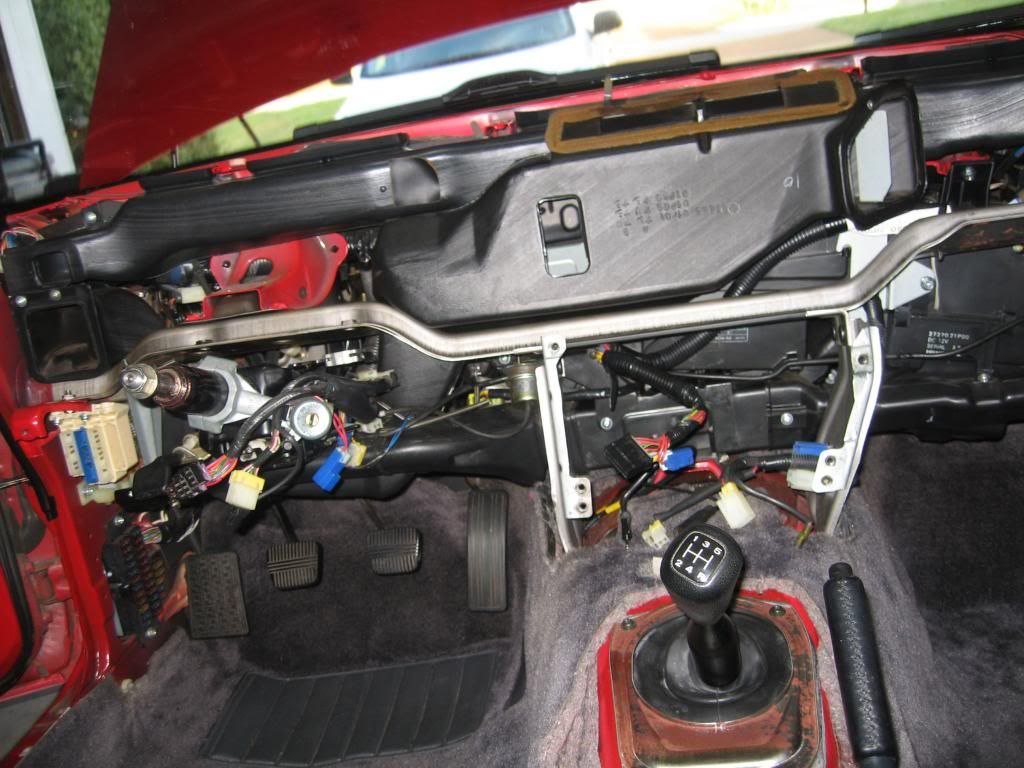
Now you can start removing the IP. I put some towels over the center console so it wouldn't get scraped up.
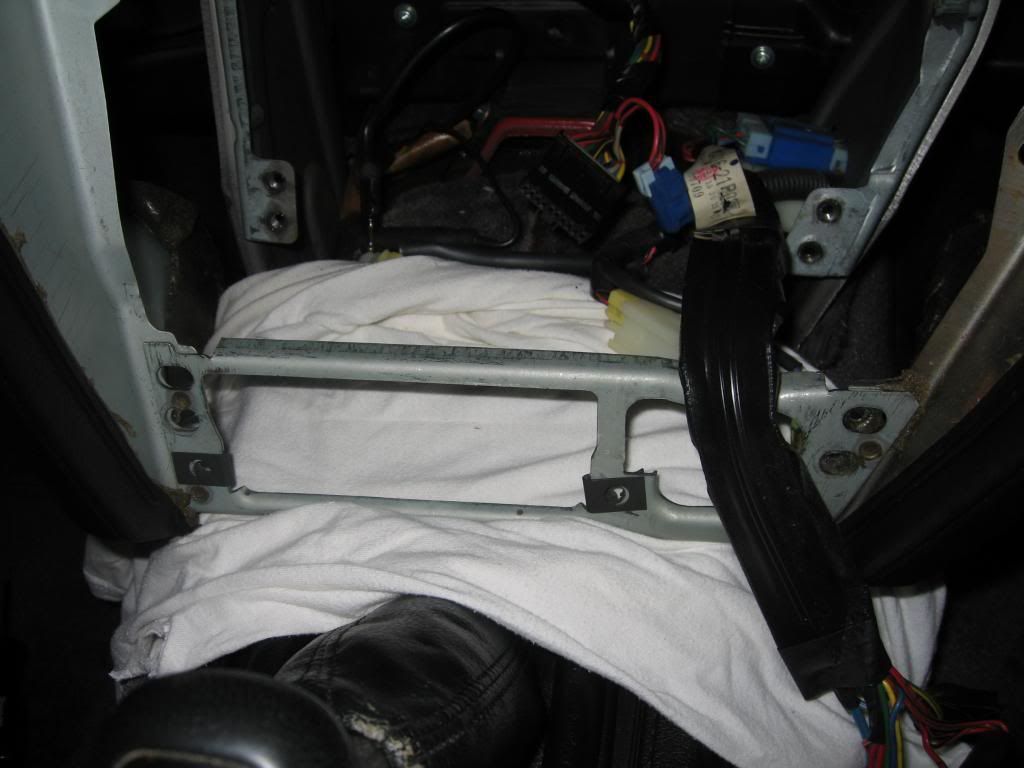
At this point for my car, I couldn't remove any of the ducting behind the center brace, so I removed it
Make note that this ground wire on the passenger side goes back here:
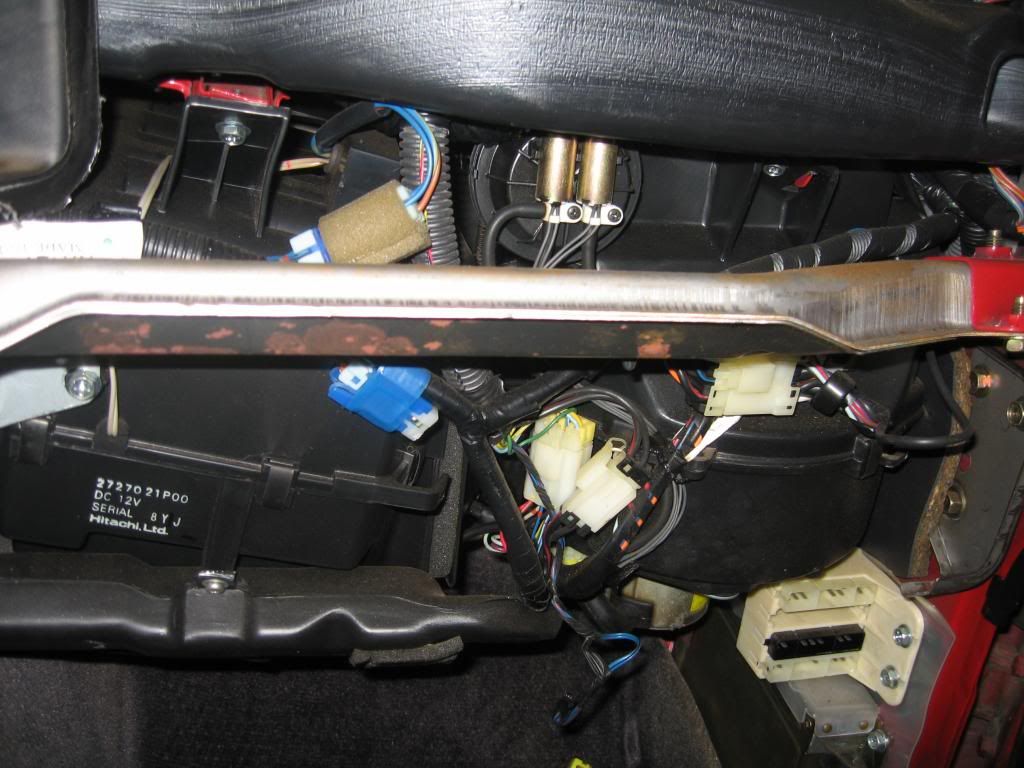
Now I have the center brace all removed. Now you can remove the HVAC ducts. All of the screws holding the vents on are the same except for one in the middle with a large washer on it. Note orientation of the vacuum line across the heater box. You can see a traces of coolant on the transmission tunnel.
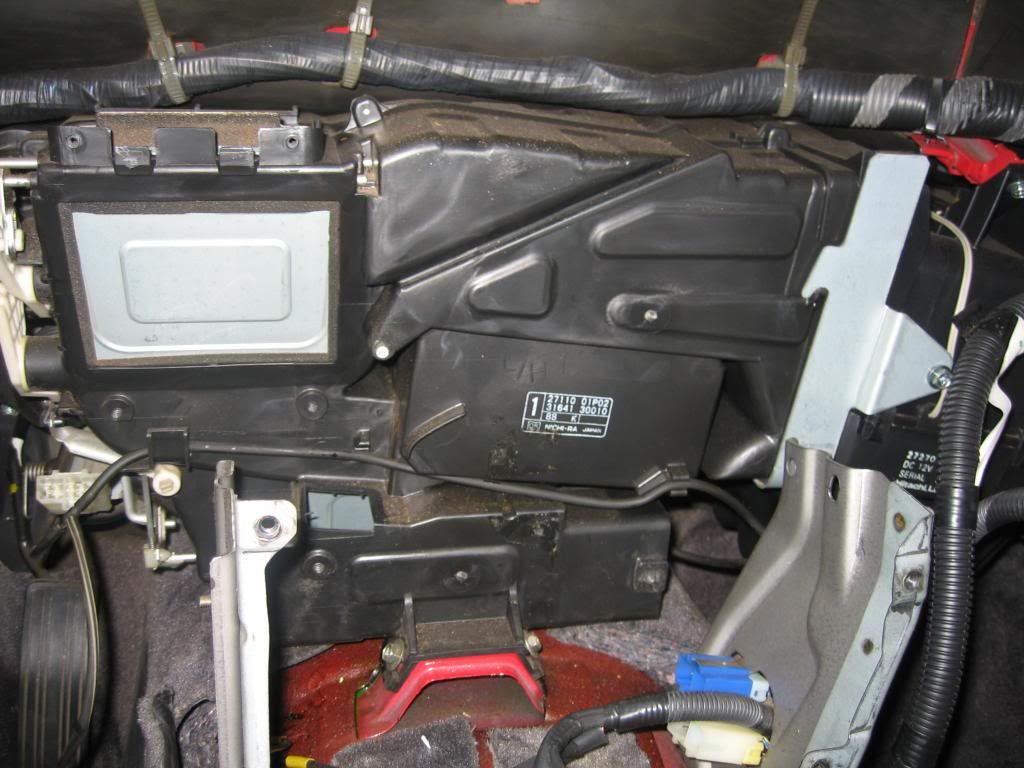
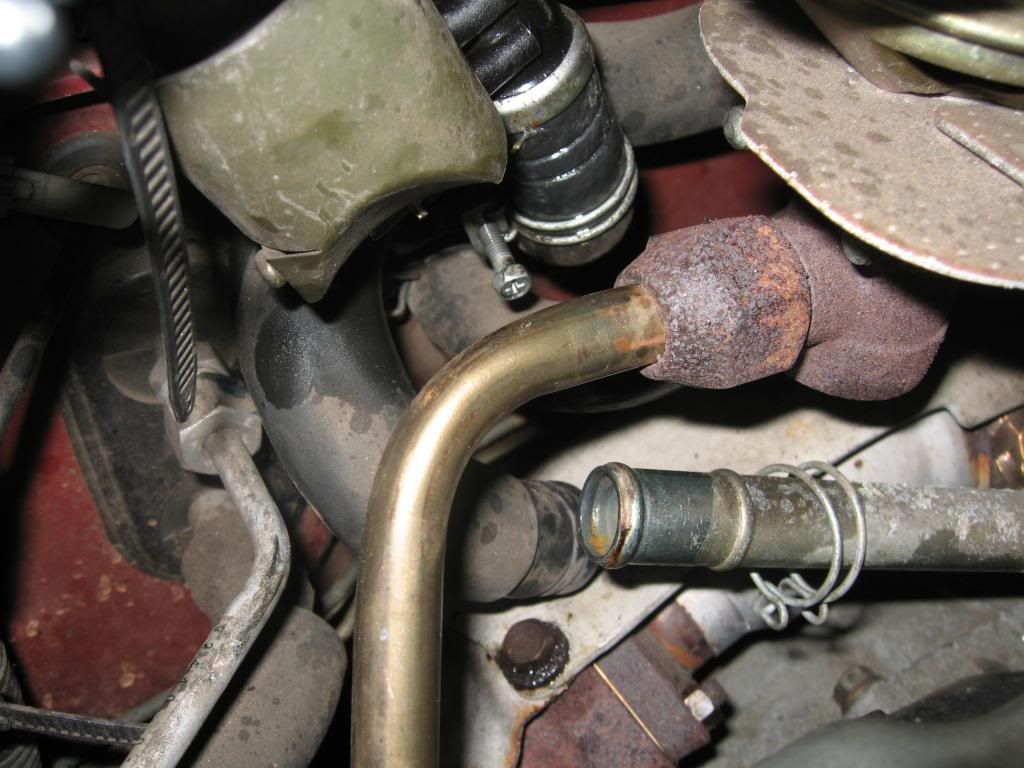
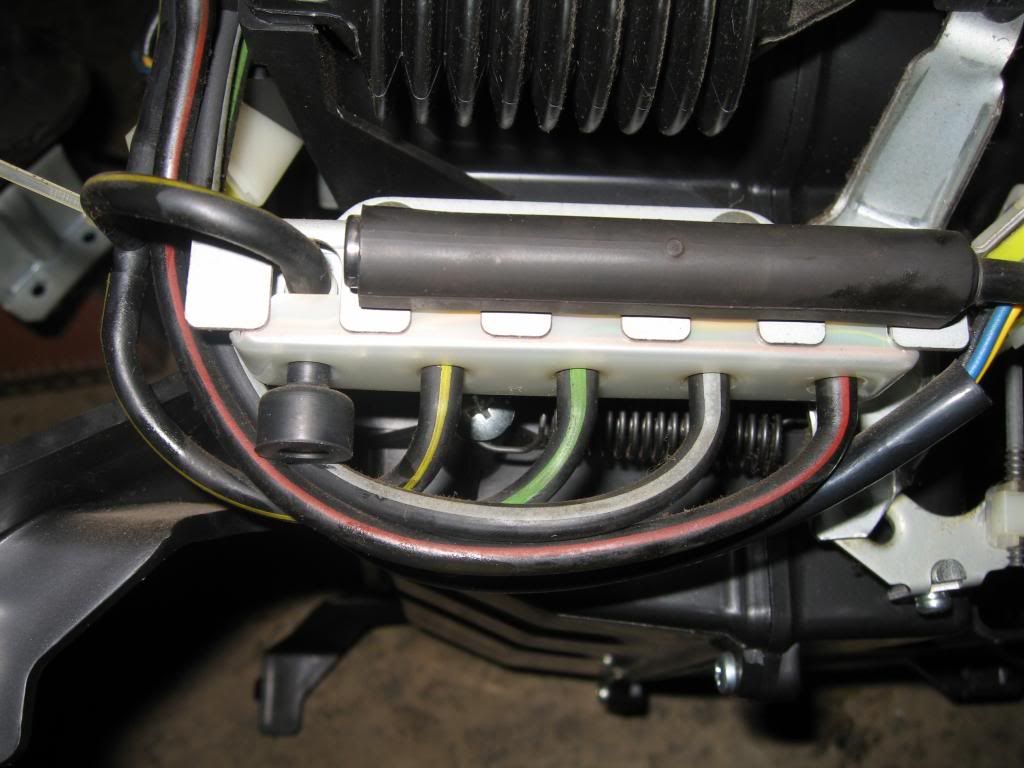
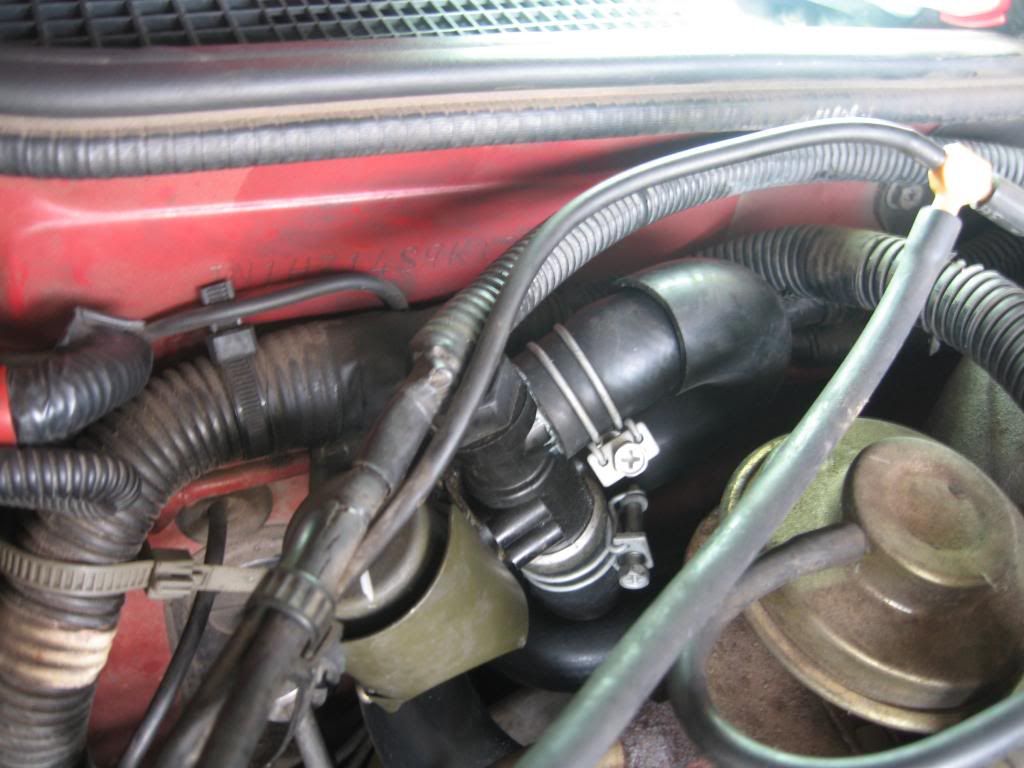
Before removing the heater box I moved under the hood and started removing the hoses that feed it coolant. These are a PITA to remove after all these years. Since I have replacements, most of these got the razor blade treatment to loosen them up.
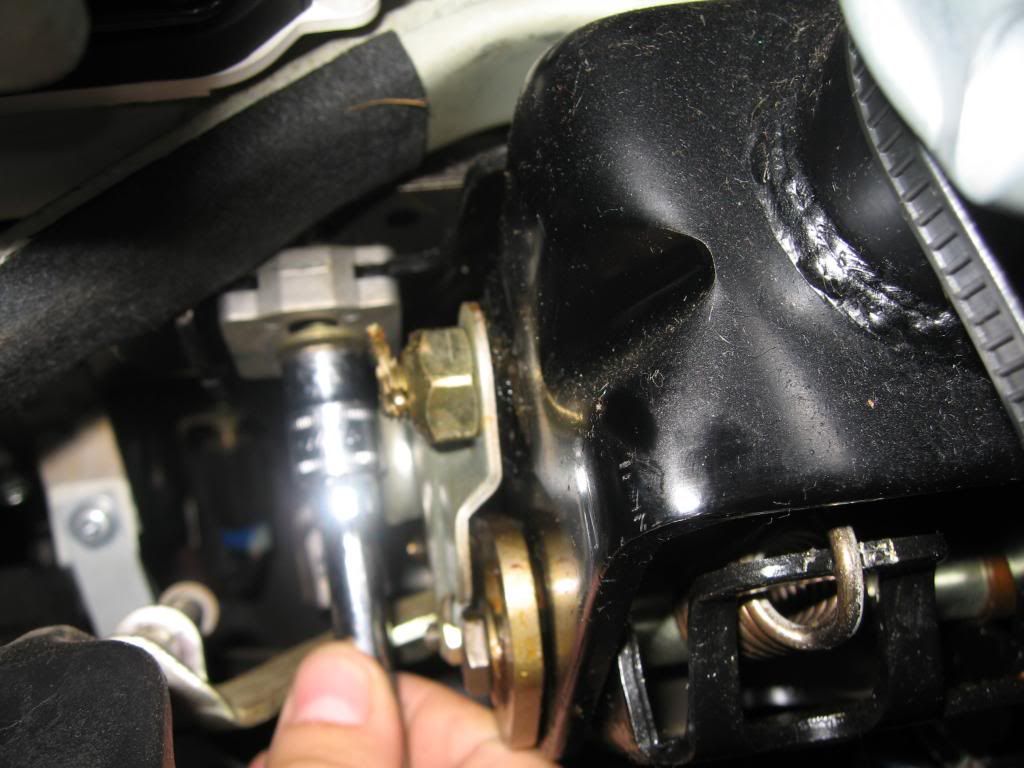
Once these are removed go back inside and remove the metal strap that holds the heater box to the A/C box and then remove the bolts/screws that hold the heater box to the firewall. If you are re-using your firewall grommet like me, take care that it doesn't get ripped as you remove the heater box. Now, I have the box out of the car and can see the old heater core. I had some issues with my temp selector where it always seemed to be too warm unless it was all the way over on the cool side. I checked the vacuum operation here but the mechanism worked well. I put a little bit of lithium grease on the white plastic bracket and grease on the metal bracket just in case it was binding.
/>
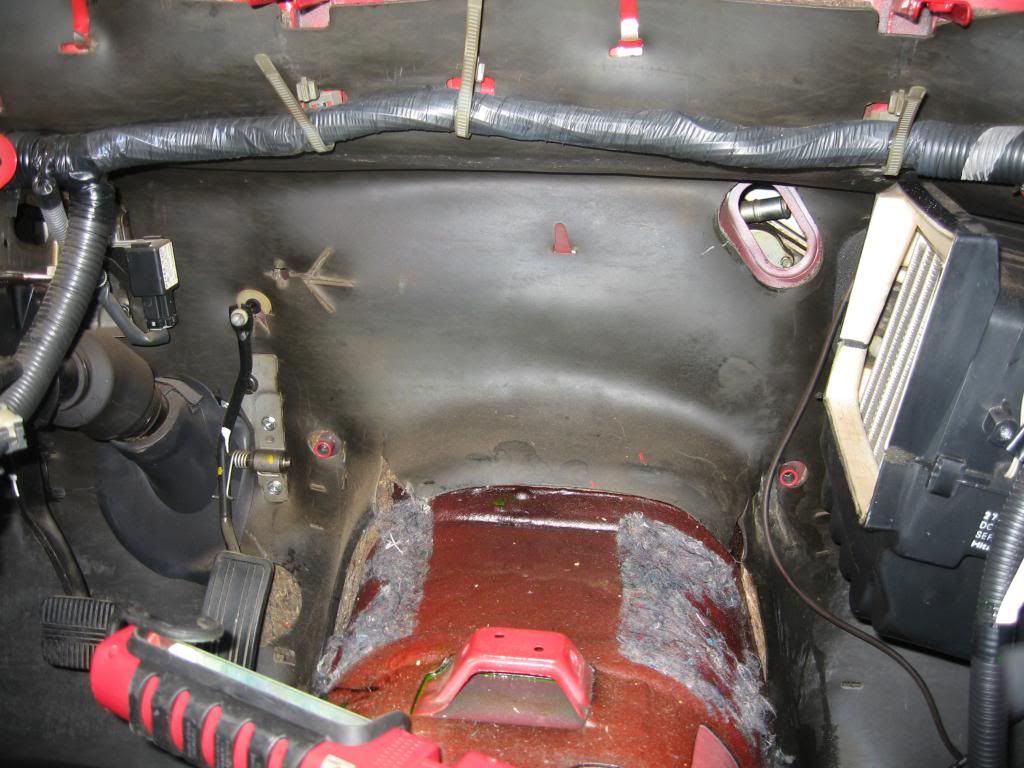
Here is the car without the heater box. At this point, I decided to remove the entire carpet and wash it externally. I was afraid that the coolant-soaked carpet would continue to saturate the sound deadening material underneath it and stay wet for a very long time. If you intend to do this, you'll need to remove the center console, lower seat belt anchor bolts and seats to pull the carpet out completely. I decided to take the carpet and the floor mats to the carwash and spray them out with soap and rinse. I ran out of weekend at this point so I let the carpet dry out in the sun for a day, then put a fan on it in various spots the rest of the week to dry it out completely. I also put a fan on the interior to dry out the floor boards.
After pulling the heater core out of the box, I saw that it was leaking on the edge, dripping down into the floor vents and soaking the carpet around the transmission tunnel. I also noticed that my new heater core had thick foam around it, where the old one's must have disintegrated.

I also checked the operation of the mode actuators and they seemed to be operating normally.
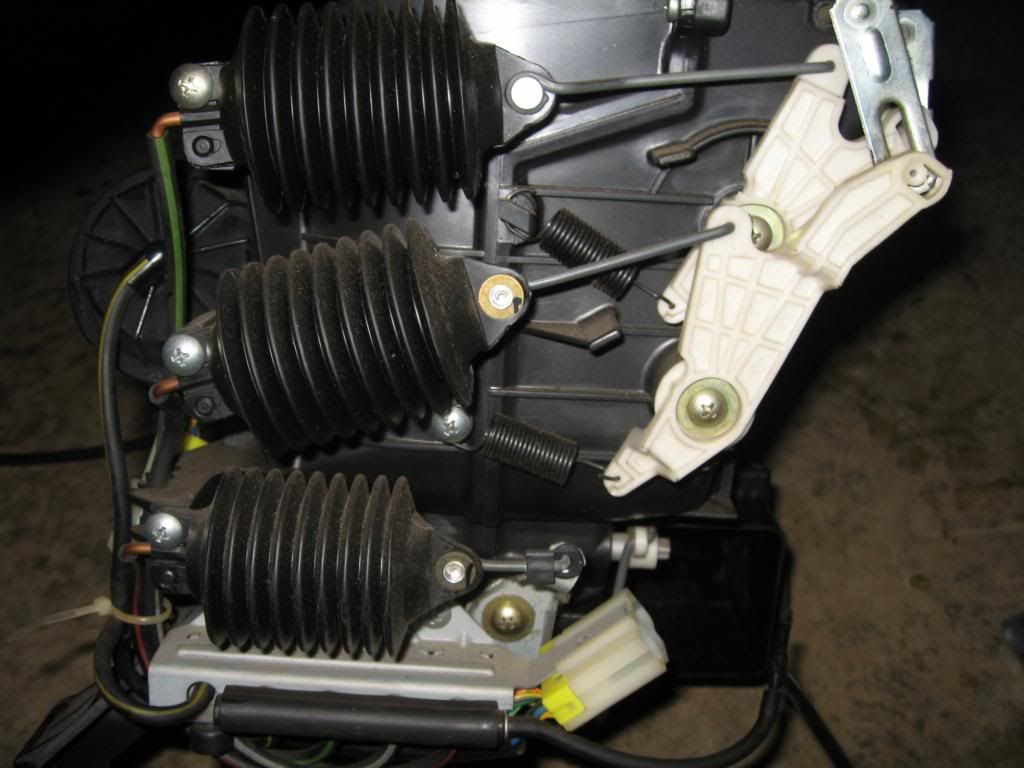
Be sure to check all these little vacuum hoses for cracks or what not.
While removing the drivers seat one of the bolts stripped out. I used a heli coil kit to drill out the hole and tap a new thread for the heli coil. I did not want my seat having any loose bolts through the floor.

At this point I have put the carpet back in and begin to install the heater core box. I reused my old firewall grommet and installed the new under hood hoses with new hose clamps.
The rest of the job is just replacing what you removed so far. The HVAC vents, the center IP support and the radio brackets. it really helps to have a friend to help you put the IP back in. I would also remove the rear-view mirror somewhere along the way as I accidentally busted mine off.
Before putting the car completely back together I refilled the coolant and started the car up. I plugged in the climate control unit to test the vent actuators, the temp selector, and the fan. Everything worked as it should so I continued with putting the car back together. After several short trips I have confirmed that no coolant is leaking and everything works as it should. I hope this write up helps you out if you have to do this. It looks intimidating through pictures but in reality it wasn't that bad. Just take your time and take lots of pictures. -
It looks like our posts are limited to 10,000 characters. Here is the parts list:- Heater core: 27141-01P00 - includes brand new foam surround for a nice snug fit (Note: I ordered this part because that is what the Nissan e-parts site showed as the only one for my model year but it did not come with the NLA firewall grommet and small water hoses from the heater core to the firewall. XenonZcar.com has a writeup that gives part number 27140-01P00 that includes the firewall grommet and the small hoses that go from the heater core to the brass tubes. You should order 27140-01P00. The parts guy told me these are still available but unfortunately, I found this out after I took possession of mine and couldn't return it)
- Clamps : 01555-01141 - these go on the heater hoses under the hood
- Under hood coolant hoses: 92410-01P00, 92406-01P04, 92400-22P00 - The 3 hoses that come from the engine to the water valve and to the brass tubes that go to the heater core
- Heater core: 27141-01P00 - includes brand new foam surround for a nice snug fit (Note: I ordered this part because that is what the Nissan e-parts site showed as the only one for my model year but it did not come with the NLA firewall grommet and small water hoses from the heater core to the firewall. XenonZcar.com has a writeup that gives part number 27140-01P00 that includes the firewall grommet and the small hoses that go from the heater core to the brass tubes. You should order 27140-01P00. The parts guy told me these are still available but unfortunately, I found this out after I took possession of mine and couldn't return it)
-
Awesome write-up.... bookmarked for future reference I am afraid!!! -
Nice Write up.
Now to add it was recently posted here that the firewall grommet off a Toyota (Corolla??) will work for the one that is NLA for us.
Of course that was posted a month after I did a goober job of making one using a couple tubes of silicone.Life's short
Go fast
Have a blast
Leave a good looking corpse -
Good writeup. I noticed a few things over the years with some minor differences over a few years, but this process is the way for the most part regardless of year. I've never pulled the seats to remove the dash, but it would definitely give a bit more room.
Good job. Keep it up!- VG30DET (HE341) 86 300ZX - 1982 280ZX Turbo - Headered NA 1986 300ZX 2+2 - 2000 Xterra - -
Good recollection flatfoot. Mine was intact enough to reuse, I just cleaned it off real good. Hopefully 20 years from now when I need a new heater core the part number that comes with the new grommet will still be waiting for me. -
Great stuff right here! I know this write up took a lot of time to do, and we appreciate it. -
Its also highly advisable while in there to pull the other 2 boxes, and reseal the stripping between the blower box and the intake duct, as well as where it meets the evaporator box. tight fit, but well worth it!Damn dirty angels....these cars!
Current Daily Driver - 86 Turbo.
Under the cover - THE BANANA… that needs to be re-energized.
sigpic -
Yup, I'm about to do this to one of my Z's…thanks dude.Cha iro
enjoy building it yourself.
if it fails, fuck it.
at least you gave it a whirl. -
Everything is still working fine for me! Good luck with your project.

Copyright © 2006–. All rights reserved. Privacy Policy